As a digital marketer, you need to monitor the effectiveness of your Google Ads campaigns to understand their influence and make wise decisions for your business or clients. Employing UTM parameters is a productive strategy.
At present, auto-tagging is the accepted technique for Google Ads campaign tracking. However, it is still possible to add manual UTM tags to your lead/contact forms, for example.
We’ll swiftly guide you through bulk-adding UTM parameters to your Google Ads so you can get the most out of them! But before we get to that, let’s first understand UTM parameters and why your ad campaigns need them.
Understanding UTM Parameters: Why They Are Important, and How They Work
UTM parameters are tags that are appended to the end of your URLs to assist in tracking the campaign, source, and medium of your traffic. They work wonders for your Google ad campaigns as you can use them to track how well your ads are doing, which campaigns are bringing in the most traffic, and which keywords are getting the most hits by adding UTM parameters.
How Do They Work?
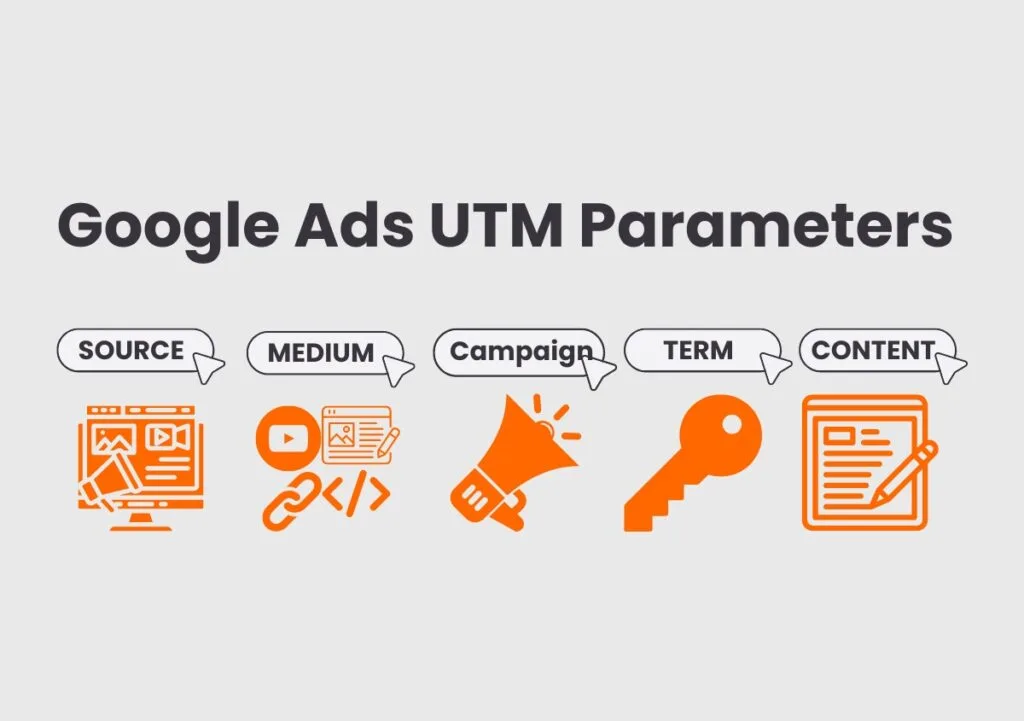
Five different kinds of UTM parameters in your content track traffic. Each has its unique functionality.

1. utm_source
This parameter indicates where the traffic to your website came from. It shows whether the traffic source was a search engine like Google, a social network site like Facebook, a link from your email newsletter blast, or any other type of referrer. When you know which specific site sent the most traffic, marketers can focus on that source and drive more people to the site.
2. utm_medium
It identifies the type of traffic generated from the source. It distinguishes the acquisition mediums, such as organic search, paid advertising, emails, social media, or referral links. Also, it helps companies determine which channel produces the most results and diverts resources to the funded ones.
3. utm_campaign
The campaign identifies the marketing effort associated with the link. This helps distinguish different campaigns and ascertain their contribution to generating traffic and conversion. For instance, if your marketing campaign’s focus is a seasonal sale, you might choose “winter_sale_2014” as an identifier. The URL might be built as follows: utm_campaign=summer_sale_2024
4. utm_term
The term is mostly used to label paid searches and define the keywords that trigger the ad. It helps measure the performance of keywords and reallocate efforts to keyword areas of those unknown sources.
5. utm_content
This tag allows you to instruct your analytics engine which of two calls to action—for instance, if there are two distinct calls to action in a single piece of content—is more successful.
Incorporating UTM parameters can help you track your marketing campaigns’ performance accurately. For instance, if you are advertising via Google ads and Facebook, using the different parameters for each media platform lets you optimize your efforts for better results. Businesses that rely on online marketing to bring in more traffic to enhance sales will benefit from keeping track of the parameters and their results.
That said, you can manually add UTM parameters to a single ad or landing page, but doing so is laborious and time-consuming when managing numerous ads and campaigns. Fortunately, adding bulk UTM parameters using the Google Ads Editor is a solution offered by Google Ads. Let’s learn how to do it!
Also Read : How To Improve Conversion Rate In Google Ads?
Adding Bulk UTM Parameters to Your Google Campaigns
Step 1: Download and Install Google Ads Editor.
You will need to download and install Google Ads Editor, a free desktop application provided by Google that allows you to make bulk changes to your Google Ads campaigns. Download it from the Google Ads website and install it per the installation instructions.
Step 2: Sign in to Your Google Ads account.
Open the Google Ads Editor, click “+ add,” and sign in to your Google Ads account through the application. Once you have signed in, the Google Ads Editor will automatically download your campaigns to your computer.
Step 3: Navigate to the “Make Multiple Changes” Tab.
To the left of the navigation menu, click “Make multiple changes.” It is where you go to make the bulk changes.
Step 4: Select the Ads You Want to Add UTM Parameters.
Click the “Ads” tab in the “Make multiple changes” tab. You will see all the ads downloaded from your Google Ads account. You can select the ads to which you want to add UTM parameters or select all by checking the boxes next to the ad.
Step 5: Click “Edit” and Select “Append Text.”
Once you select the ads, click “edit” and choose “Append text” in the drop-down. Choosing “Append text” will allow us to add the text to the end of the URL without changing the main URL.
Step 6: Add Your UTM Parameters.
In the text box, enter the UTM parameters. If you want to track the source, add “?utm_source=GoogleAds” to it. If you’re going to track the medium, add “?utm_medium=cpc” to the ad. You can add as many UTM parameters to the ads as you like.
Step 7: Preview All Your Changes.
After adding the parameters, click “Preview changes” and see how your changes look. Google Ads Editor will show you a preview of how your ads look after the changes so you can verify everything looks the way you want.
Step 8: Apply All Your Changes.
Click “apply” if everything looks good to apply the changes to your campaigns. Google Ads Editor will update all the URLs of your selected ads to have the UTM parameters at the end.
Step 9: Upload Your Changes to Google Ads.
After applying the changes, you will need to upload them to your Google Ads account. Click the “post changes” button in the top right corner of Google Ads Editor. The changes will be uploaded, and you will see the changes in the Google Ads dashboard.
Also Read : How Can Google Ads Help You Advance Your Business Goals?
Can You Use UTM Parameters and Auto-Tagging Together?
UTM parameters can be used to auto-tag your Google Ads campaigns to monitor and assess how successful they are. These two have the same goal, but they function differently and bring their own advantages.
UTM Parameters
UTM parameters require you to add tracking code manually to your ad URLs to cover individual attributes of a campaign, including the source and medium, campaign name (and a host of other statistics regarding user behaviors). In this way, no matter which channel or campaign you work with, you have full control over how your ad traffic is tracked and can insist on a fine-grained analysis of the results that serves your specific needs.
Auto-Tagging
On the other hand, auto-tagging is a feature of Google Ads that automatically adds tracking code to your ad URLs when they are clicked. This feature is turned on by default in Google Ads and is intended to simplify the tracking process. It automatically captures vital campaign data, such as source and medium, with no need for human intervention. Auto-tagging ensures consistent and trustworthy tracking of your ad traffic, and there is no danger of human error when you are putting UTM parameters in manually.
The two systems can complement each other. Auto-tagging captures essential data, and UTM parameters enable bespoke tracking with a higher level of insight into the attributes of an individual campaign. Together with a third-party reporting tool like Google Analytics or Tableau, this kind of tracking gives the advertiser a complete picture of how their ad is performing and enables them to make informed decisions on whether it should be changed or how to improve the designs for that year’s campaign. By combining UTM parameters with auto-tagging, you get the best of both worlds.
Together, they provide comprehensive insight so you can make clear decisions based on solid information about your ad performance.
Using UTM parameters and auto-tagging can develop a complete performance monitoring and analysis of links and, as a result, Google ads campaigns for marketers. However, you may allow manual tagging (UTM values) to override auto-tagging (GCLID values) by activating the auto-tagging override setting in Google Analytics – Property Settings – Advanced Settings. (just to be cautious).
Final Words
Using UTM parameters in Google Ads is a powerful asset for marketers to track and optimize their campaigns. Marketers can track user behaviour to a granular level and measure campaign performance against ROI. They allow for more informed decisions, which means businesses can adjust accordingly to get the most out of their ads and, as a result, maximize desired business results. Google Ads UTM parameters provide marketers with attribution uniformity, campaign visibility, and a way to enhance the overall success of an integrated marketing strategy.


