As an eCommerce business using Shopify to sell your products, one of your main goals must be to acquire new customers. However, without targeted marketing on the right platforms and channels, it can be difficult to get more sales. Google Ads is one of the most effective advertising platforms for businesses of all types. By running ads for your Shopify store on Google, you can tap into millions of active users on Google.
To do that, you first need to set up and link your Ads account to your Shopify store. After that, follow the Google Ads best practices to boost your sales. Keep reading to find out more about it.
Must Read:- How to Set Up Remarketing Campaign in Google Ads?
Why Advertise Your Shopify Store on Google?
There are many reasons to advertise your Shopify store on Google. Google Ads are particularly effective for new Shopify stores that want to generate traffic, leads, and sales. Here are all the reasons to use the Google Ads platform for your Shopify store.
1. Leverage Google’s Huge Pool of Potential Customers
Almost 90 percent of internet users are on Google. It’s safe to say that your target audience is on Google searching for products similar to what you offer. With Google Ads, you gain access to this rich customer base.
2. Tap into High-Quality Traffic.
Google search ads put you in front of people with a strong intent to purchase. These ads are only shown to those who express an interest in buying products that your store sells. So, the traffic coming into your store from Google Ads is much more likely to buy or interact with your business in some form.
3. Transparent Result Metrics
Google Ads allows you to learn about your ad’s performance through various metrics. Through these transparent result metrics, you can make adjustments to optimize your campaign and drive better results. Moreover, when you know what’s working and what’s not, you can allocate more of your budget toward better-performing ads, which proves to be cost-effective in the long run.
4. Quick Results
Since the ads appear in front of those with a strong buying intent, results are almost instantaneous. Properly optimized ads get loads of clicks, which results in more website traffic and sales.
Is It Difficult to Run Google Ads for Shopify?
Google Ads for Shopify can give you a good return quickly. But it is only so when you optimize your campaign according to the new trends and customer behavior. If you plan to use Google Ads, you must also be ready to analyze your campaign performance daily and make the necessary changes. Otherwise, your competitors running Google Ads will get ahead.
Moreover, remember that just an ad click does not guarantee results. But you pay for every click regardless of whether the person purchased something or not. Finally, like you, thousands of other big eCommerce stores are advertising themselves through ads. You need to strategically position your Shopify ad campaigns to carve a space for yourself.
Read Also:- Can You Use Competitor Brand Keywords in Google Ads?
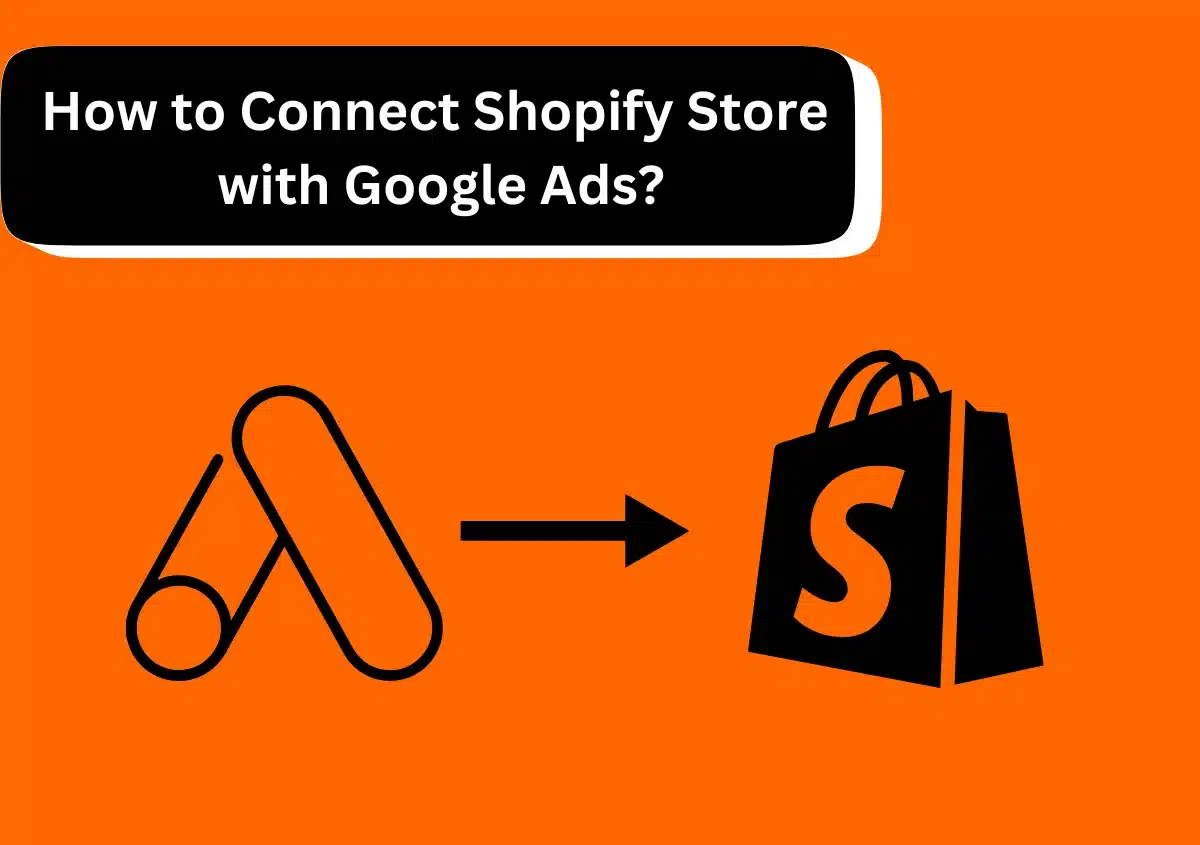
How to Connect Your Shopify Store to Google Ads?
The process of linking your Shopify store to Google Ads isn’t complex. Just follow the stepwise process explained below.
Requirements to Link Shopify Store to Google Ads
Before going ahead and linking both accounts, you must have certain things in mind. These include the following:
- A Shopify Plan
- Active product(s) on your Shopify Store.
- A working domain
- 2 publicly listed email addresses, phone numbers, and physical addresses.
- Public legal pages, which include terms and conditions, refund policy, and return policy.
- Separate Google and Shopify email addresses.
1. Create a Google Ads Account

Head over to ads.google.com and choose ‘New Google Ads Account. Create an ads account and then tap Switch to Expert Mode. Right now, you don’t need to create a campaign. That can be done once your ads account is linked to your Shopify account.
Fill out your business information, such as the billing country, currency, and timezone, and then tap the ‘Submit’ button.
2. Create a Google Merchant Account
Create a Google Merchant account by following these instructions:
- Visit https://www.google.com/retail/ and tap the Start Now” button.

- Sign in with your Google account. Create a new account if you don’t have one already.
- Input your business name, website link, and physical address.

- From the dropdown menu, choose your business type.
- Indicate whether you sell products in-store or online.
- Google will prompt you to verify your business. Select any one of the verification methods:
- Website Verification: Add a meta tag to your site’s homepage.
- Google Analytics Verification: Connect your Google Merchant Center account to your Google Analytics account.
- Domain Verification: Add a DNS record to the settings of your domain registrar.
- Finish the verification process. Then, add items to your Merchant Center account. You can do this manually or with a product feed.
- Provide the necessary product information, including:

-
- Item’s Title
- Description
- Price
- Availability
- Product images
- GTIN (if applicable)
- Brand
- MPN (Manufacturer Part Number)
- Link to your item’s page
- Set up your shipping settings. Adjust shipping charges, places, and carrier services.
- Set up your tax settings. Define the tax charges. Also, specify the areas where your items are taxable.
- Submit your product feed to Google Merchant Center. Google will go through it. It will let you know if you have any problems.
- Increase the visibility of your products for shopping campaigns. Here are some helpful tips.
- Use good quality product images.
- Ensure that the product titles and descriptions are clear and informative.
- Check if your product data is accurate and consistent.
- Optimize your product feed according to Google’s requirements.
3. Verify Your Shopify Website
At this point, your website is unverified. So, you must install the HTML tag on your Shopify store. Here are the steps to follow:
- Copy the generated HTML tag from the Google Merchant Center

- Now return to Shopify and tap ‘Online Store.’

- Tap the Action dropdown under Themes and choose Edit Code. You must be on the Theme. Liquid file.

- Find the opening Head tag and press enter. Now, paste the HTML tag.
4. Disable Your Store’s Password
The next step is to turn off your store’s password. Follow this stepwise sequence.
- Choose ‘Preferences.’ It is under the Online Store.

- Hit ‘Disable Password.’
- Take away the check from the ‘Enable Password’ box.

- Hit‘Save.’
- You will get a notification that your store is live.
- Navigate to Google Merchant.
- Hit Verify Website.’

- Now, tap ‘Claim Website.’

5. Link Your Google Ads, Google Merchants, and Shopify Accounts

The next step is to link your Google Ads, Google Merchant, and Shopify accounts. Navigate to the Shopify’s App Store. Here, find Google Shopping. We recommend that you get Feed for Google Shopping by Simprosys InfoMedia. The app greatly simplifies this process.
Install this app on your Shopify Admin. Now, go ahead and sign into your Google account. Tap the Login with Google button. Be sure to sign in with the email you provided for your Google Merchant and Google Ads account. This app will manage your ads campaign and your product listing for Google Merchant. It will also manage all the domains and sites under you.
6. Configure Shipping
The last part is to set up shipping. To do that, go to your Google Merchant Center and do the following:
- Choose the Merchant ID.
- Now, hit the ‘Confirm Your Account’ button.
- Tap ‘Yes, I’ve enabled programs.’
- Hit the plus button. This will create a shipping method.
- Input the service name and area where you’ll ship your products.
- Hit ‘Next.’
- Choose your preferred delivery time.
- After setting up the time, tap ‘Next.’
- Choose ‘Free Shipping’ if you offer that and tap ‘Save.
- Now, return to the app, Feed for Google Shopping by Simprosys InfoMedia.
- Tap ‘Test Shipping Rates.’
- That’s it, you have successfully set up shipping.
- You will get a confirmation on-screen about your Google Merchant Center being connected with Shopify and Google Ads.
- Tap the ‘Sync’ button to sync the products.
- Now, just wait for Google’s approval. It may take up to 10 hours for the approval message to appear on the Google Merchant account. When the approval comes, you’ll see your products on Google Merchant.
How to Google Ads to Improve the Performance of Your Shopify Store?
Google Ads is a great marketing platform. However, to successfully increase your Shopify store sales through it, you need to implement certain strategies. Here are some Google Ads best practices to follow:
1. Research and Use the Right Keywords
The most effective way to make your Google Ads more visible to your target audience is to use relevant keywords in it. The better your keyword selection, the more the chances of people clicking on your ad and being directed to your Shopify store.
Remember, numerous eCommerce stores are running their ads. In such cases, using short-tail keywords with high volume can be a wrong choice. This is because they are highly competitive, with huge costs per click. So, focus on long-tail keywords, niche keywords, and keywords with low difficulty but a high volume of searches.
2. Use Performance Max Campaign
Google has recently introduced Performance Max, a goal-based campaign type. It lets Shopify and advertisers access their Google Ads inventory by using just one campaign. You should use it in conjunction with your Search campaigns to locate more customers who are likely to purchase from your store across all of Google’s platforms.
Performance Max campaigns use algorithms to optimize bids and placements. The algorithms also help with targeting in real-time, so you get the most out of your ad spend. These campaigns can also automate various manual processes, such as bid management. So, you can focus more on improving other aspects of your Shopify business. The campaigns also have various new features. Some of these include managing product and asset listing groups and audience signals.
3. Use Different Ad Types
Google Ads platform offers different ad types. You must leverage all these types, or at least what’s suitable for your store, to drive more traffic. Here are some of the ad types you can consider.
- Discovery ads: Discovery ads appear on YouTube’s Watch Next and Home feeds. These help users find products even if they aren’t searching for them.
- Shopping ads: These ads display the photos and prices of your store’s products across Google’s properties, such as Maps, Gmail, Display Network, and the like.
- Video ads: Video ads appear in the middle, start, or end of a YouTube video. Since these ads appear on videos on popular videos, they can help increase your brand visibility.
4. Keep Optimizing Your Campaign
With Google Ads, the best results are achieved only when you continuously monitor your Shopify campaign. The ads platform gives you various metrics through which you can gain a good idea of how your ads are performing. You must take relevant action to adjust your campaign and optimize it to get more returns.
Final Words
Running Google Ads for your Shopify store can increase your store sales significantly. But it’s important to link both the ads and Shopify accounts together. Then, strategically set up and optimize the ad campaign. If you need help, reach out to Website Pandas. We offer expert Google ads management services for Shopify stores and have helped many businesses scale and grow quickly through these digital channels. Reach out to us today to experience similar results for your brand.